Figured I'd write this up here, since we have the thread stickied and all already.
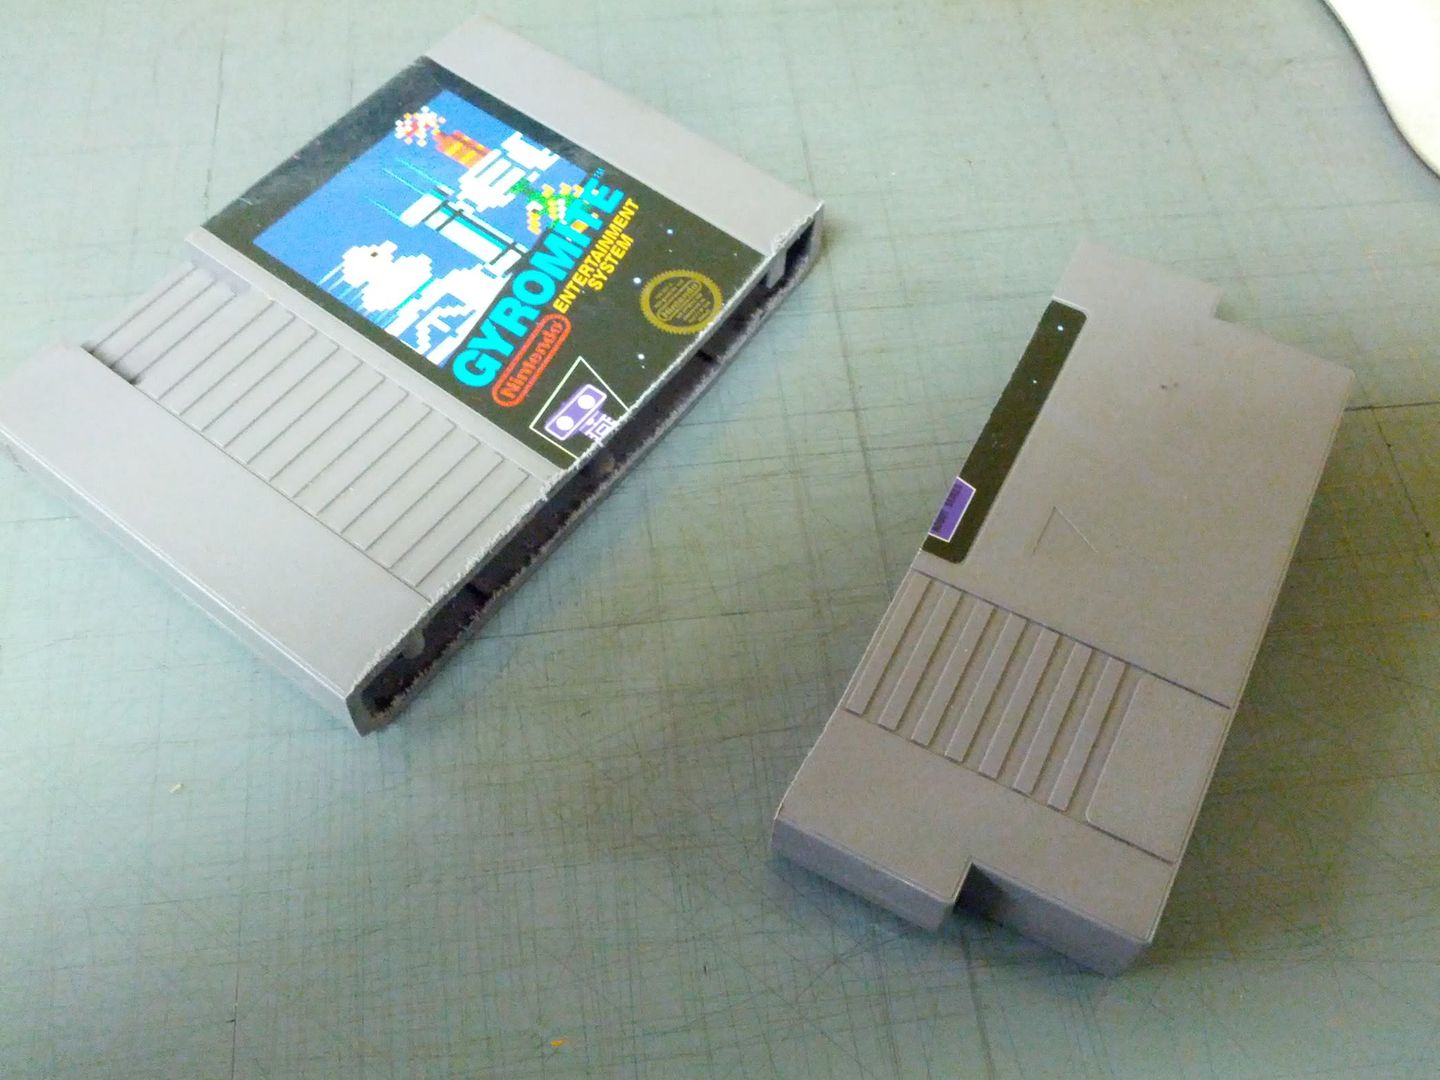
I finally got around to cutting up my extra Gyromite cart for the Famicom adapter. After marking how deep I needed the cut on the cart, I took it to the band saw and cut it down while both halves were still screwed together. This way, both of them are exact matches to each other. The blade on the bandsaw walked a little, so I needed to trim a little more off to correct it, and still ended up with a little walk in the blade. But it should be fine.
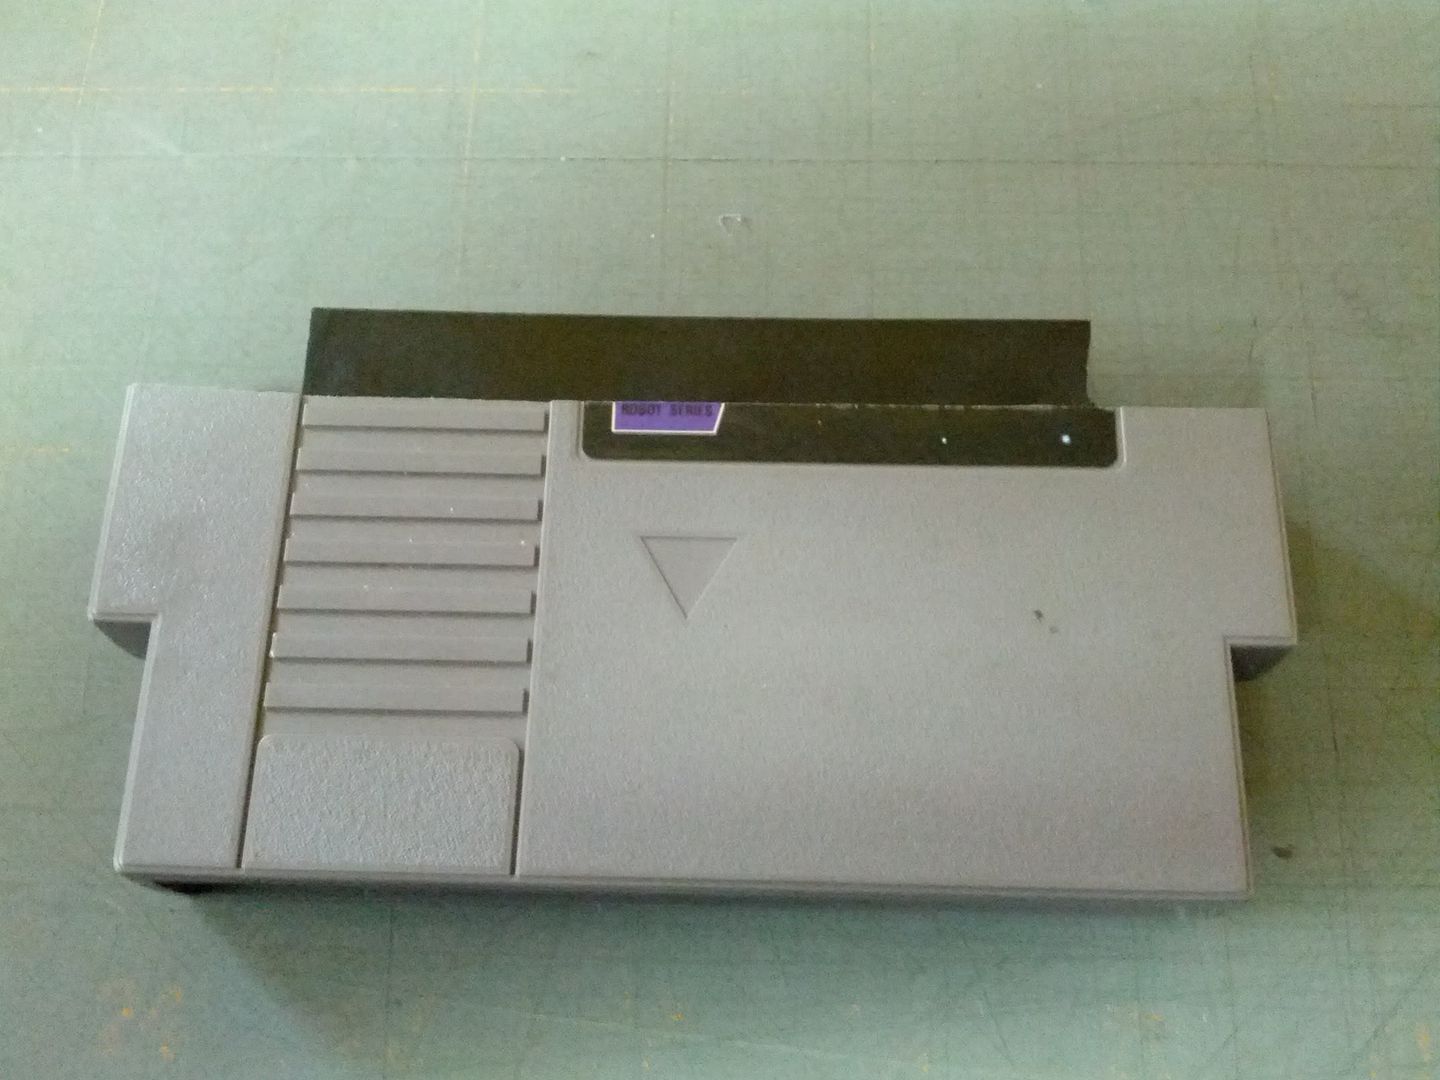
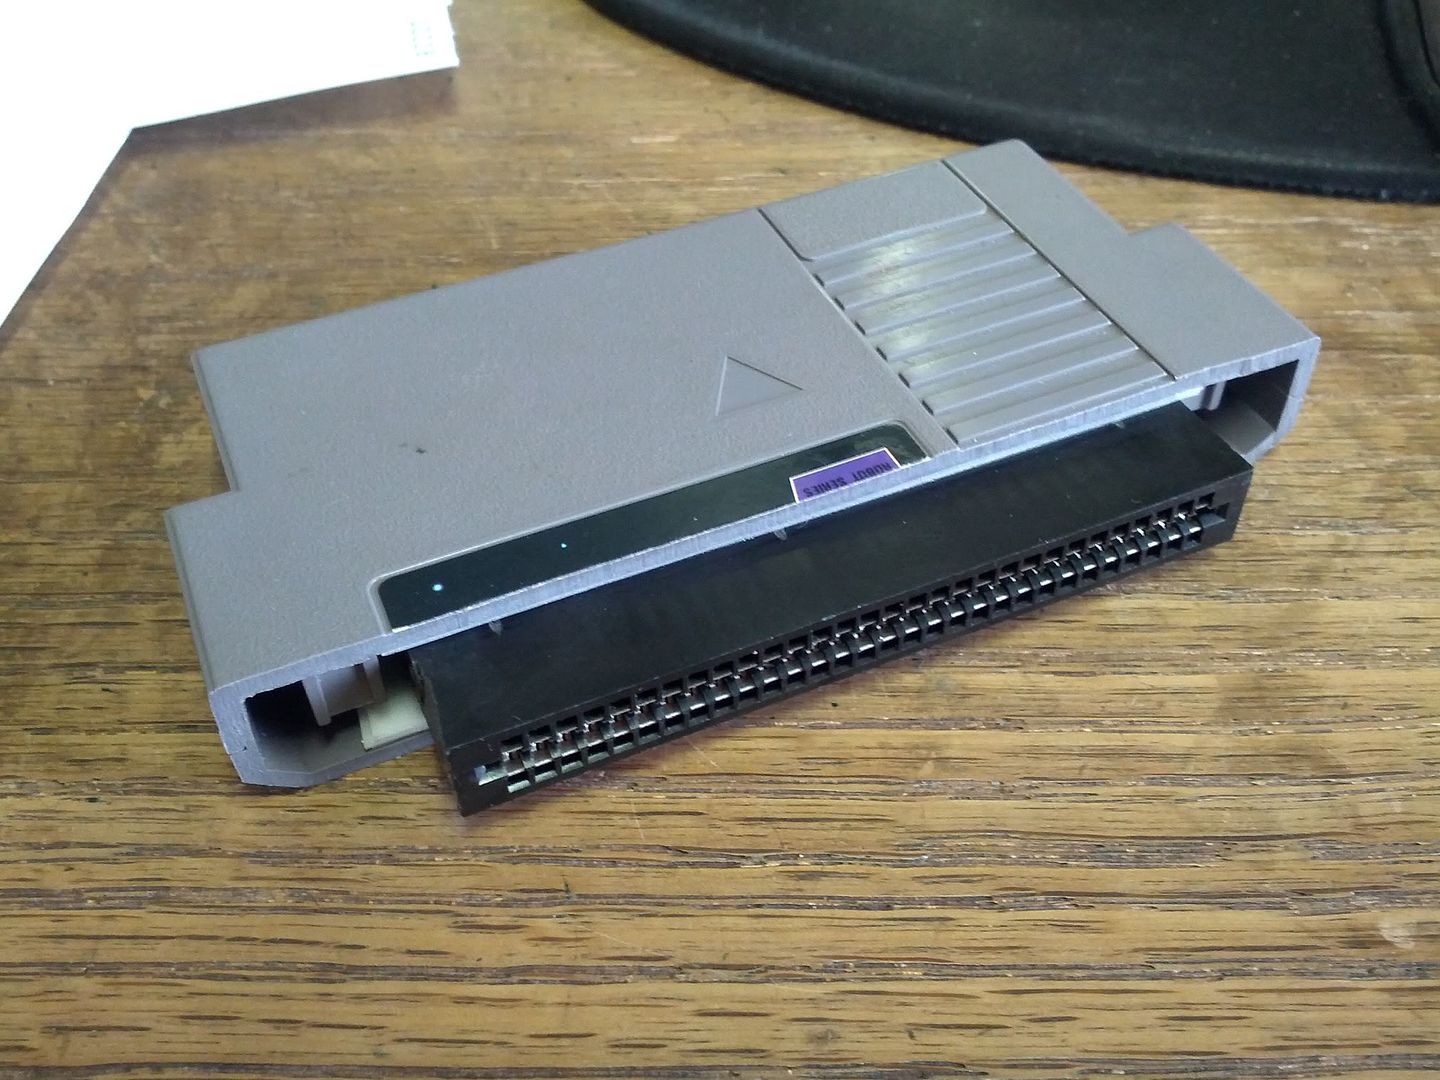
Once that was done, cut the tabs off of the adapter itself, so the Famicom carts will clear to the contacts. Then I just used some 2 sided tape and built up a few layers. Once that was done, I screwed the 2 remaining screws into place and viola! "Instant" Famicom Adapter cart!
Cart cut in half.

Test fitting

Taped in place. You can see the layers of double sided tape. I used some industrial stuff that I have around work. But any good 2 sided tape should work fine. I needed to do 2 layers on the front and 3 on the back to help fill the gaps.

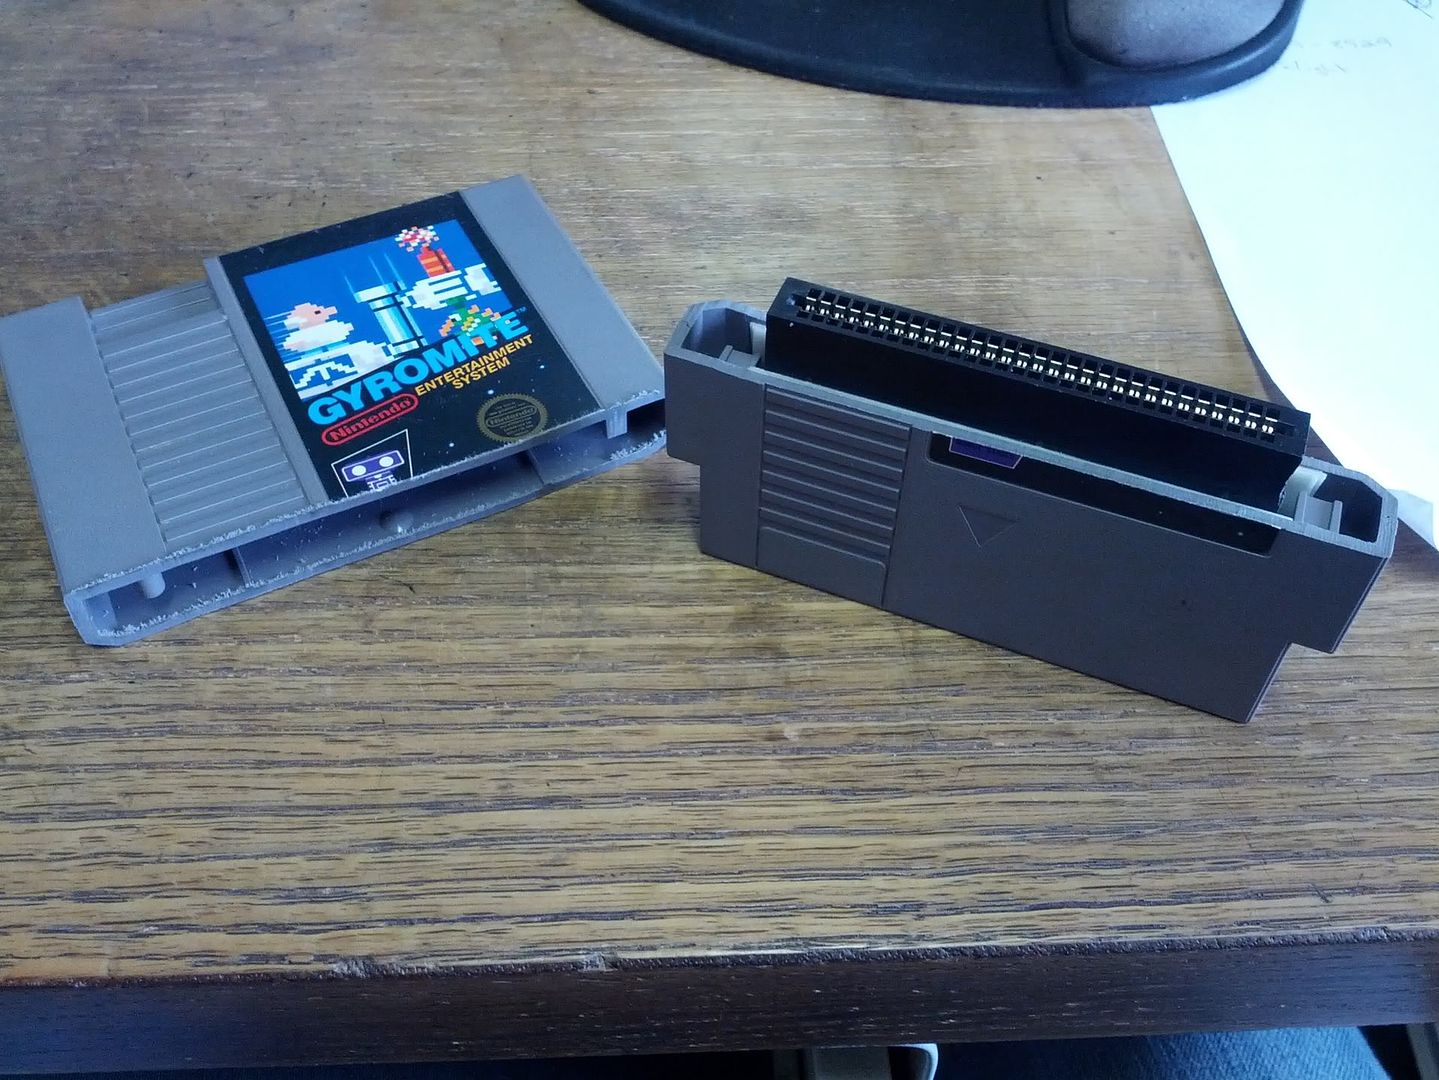
All done!

The only thing I want to do yet is make up a couple labels and get rid of the left over Gyromite art and the Nintendo warning label.
If my measurements are right, the Famicom carts should but right up to the Gyromite cart and there shouldn't be a gap at all. Of course I didn't feel like taking my Kid Dracula cart to work for testing. So, I guess I'll find out tonight.